A strong first impression matters in every market. In Tulsa, recent 2026 reports show more active inventory and longer list-side timelines than sellers experienced during the most competitive years. Realtor.com reported Tulsa inventory up year over year, with median days on market reaching 54 days in its July market update. Read the latest Tulsa market information for context.
That does not mean buyers have lost interest. It means they have more choices and more time to compare them.
This home staging checklist is designed for Tulsa homeowners and real estate professionals who want a listing to feel clear, inviting, and ready for its first photograph and showing. Use it to prepare your home room by room, then bring in professional support where the details require more experience, inventory, or coordination.
The Three Golden Rules
Before arranging furniture or adding accessories, begin with these three principles.
1. Declutter With Intention
Remove anything that makes a room feel crowded, including extra furniture, small appliances, collections, paperwork, and excess décor. Aim to leave surfaces and walkways comfortably open.
Buyers need to see the home, not the volume of belongings inside it.
2. Depersonalize the Presentation
Put away family photographs, highly specific artwork, political or religious items, and strong personal collections. A home should feel warm, but broad enough for buyers to imagine their own lives there.
3. Deep-Clean Every Visible Surface
Clean beyond the usual weekly routine. Focus on windows, baseboards, floors, grout, cabinet fronts, light fixtures, appliances, and areas that collect dust or odors.
Cleanliness is one of the simplest ways to make a home feel cared for.
Curb Appeal: Start Before the Front Door
4. Refresh the Yard and Landscaping
Mow the lawn, trim shrubs, pull weeds, rake leaves, and remove dead plants. In warmer months, add a few restrained pots or seasonal flowers near the entry.
Keep the landscaping neat and intentional rather than overly decorated.
5. Clean the Approach to the Home
Sweep the porch and walkway. Pressure-wash dirty concrete where needed, clean gutters, remove cobwebs, and make sure the driveway is free of clutter.
The path to the front door should feel easy to follow and well maintained.
6. Make the Front Door Feel Welcoming
Clean or repaint the door if necessary. Polish or replace tired hardware, confirm that the house numbers are visible, and add a simple, clean doormat.
Small exterior details often appear in listing photographs and shape a buyer’s expectations before the showing begins.
Entryway: Create a Clear Welcome
7. Open Up the Entry
Remove shoes, bags, pet items, mail, and oversized furniture. Buyers should be able to step inside without navigating around personal belongings.
If the entry is narrow, choose one purposeful piece, such as a slim console or small bench, rather than filling the space.
8. Add Light and One Thoughtful Focal Point
Turn on entry lights and replace mismatched or dim bulbs. If the layout allows, add a mirror, artwork, or simple greenery to give the eye a place to rest.

Living Room: The Money Room
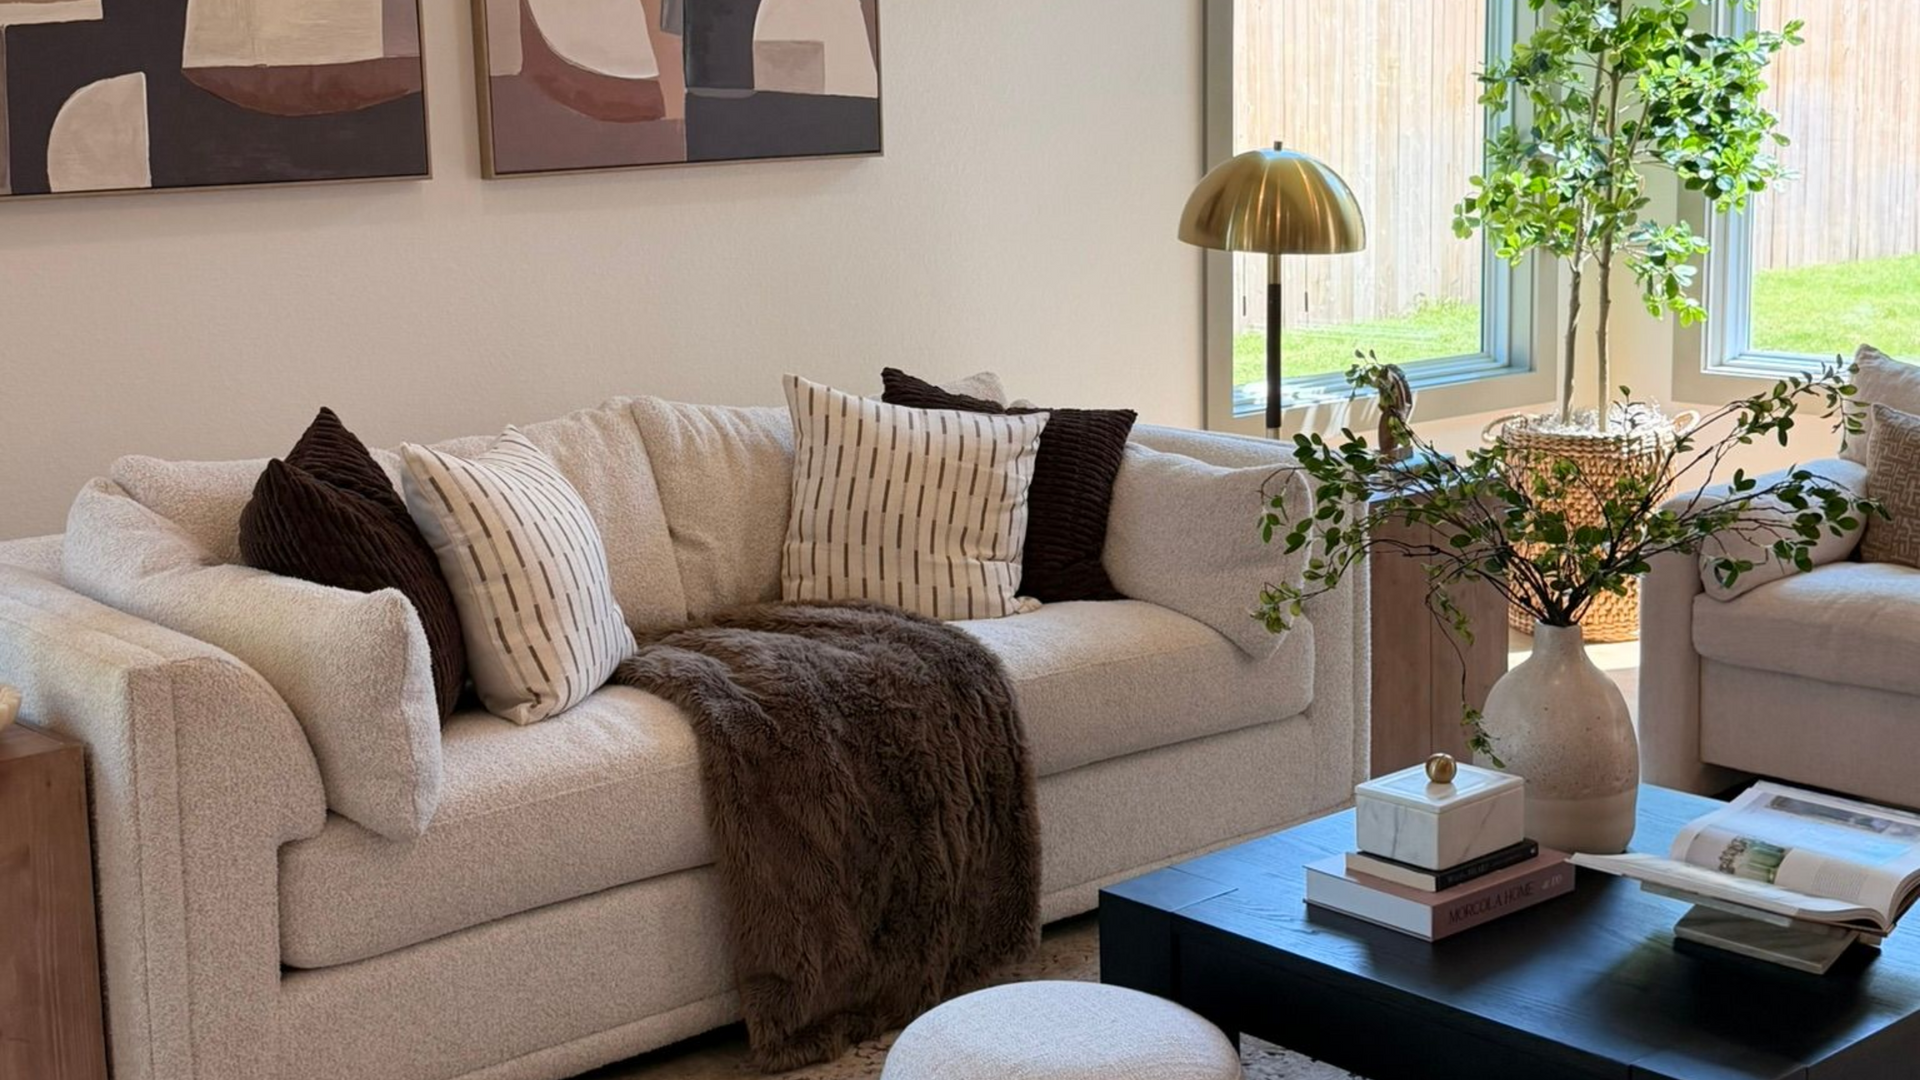
The living room is often the emotional center of the listing. It is where buyers begin imagining everyday life, hosting friends, and relaxing at the end of the day. If you are staging a living room to sell, focus on scale, flow, and comfort rather than filling every corner.
9. Remove Oversized or Extra Furniture
Take out pieces that block windows, narrow walkways, or make the room feel smaller than it is. A room with fewer, better-proportioned pieces will usually photograph more spaciously.
10. Arrange Furniture for Conversation
Create a seating arrangement that feels connected. Angle chairs toward the sofa, center seating around a coffee table, and preserve a clear path between the entry and adjoining rooms.
Avoid pushing every piece against the wall unless the room truly requires it.
11. Anchor the Layout With a Rug and Lighting
A correctly sized rug can define the seating area and add warmth to hard flooring. Open curtains and blinds, then layer natural light with floor or table lamps where the room needs more depth.
12. Simplify Surfaces and Hide Cords
Edit coffee tables, shelves, and end tables down to a few intentional accessories. Conceal television cords, remotes, charging cables, and media clutter.
The goal is a room that feels finished but not overly styled.
Kitchen: Make the Space Feel Spacious
13. Clear the Counters
Remove nearly everything from the countertops, including small appliances, paper, food packaging, and decorative clutter. Keep one simple focal element, such as a bowl of fruit, a vase, or a small cutting board.
Open counters help buyers notice the workspace and finishes.
14. Organize Cabinets, Drawers, and Pantry Storage
Buyers may open storage during a showing. Remove excess items, group what remains, and leave some breathing room on each shelf.
A lightly edited pantry can make the kitchen feel more functional and generous.
15. Clean Appliances and Kitchen Details
Clean the oven, refrigerator, microwave, dishwasher, sink, backsplash, floors, and grout. Remove magnets and notes from the refrigerator door.
Replace worn dish towels and hide sponges, trash cans, cleaning products, and pet bowls before photographs and showings.
Dining Room: Show How the Home Lives
16. Create Comfortable Circulation
Use a table and chairs that fit the room without crowding it. Buyers should be able to imagine sitting down, pulling out a chair, and moving around the table comfortably.
If the room is small, a simpler arrangement may communicate the space better than a full formal setting.
17. Keep the Table and Walls Lightly Styled
A restrained centerpiece can add warmth without making the room feel busy. Make sure the chandelier or pendant is clean, working, and visually appropriate for the table.
Artwork should complement the room’s proportions and support the overall palette.

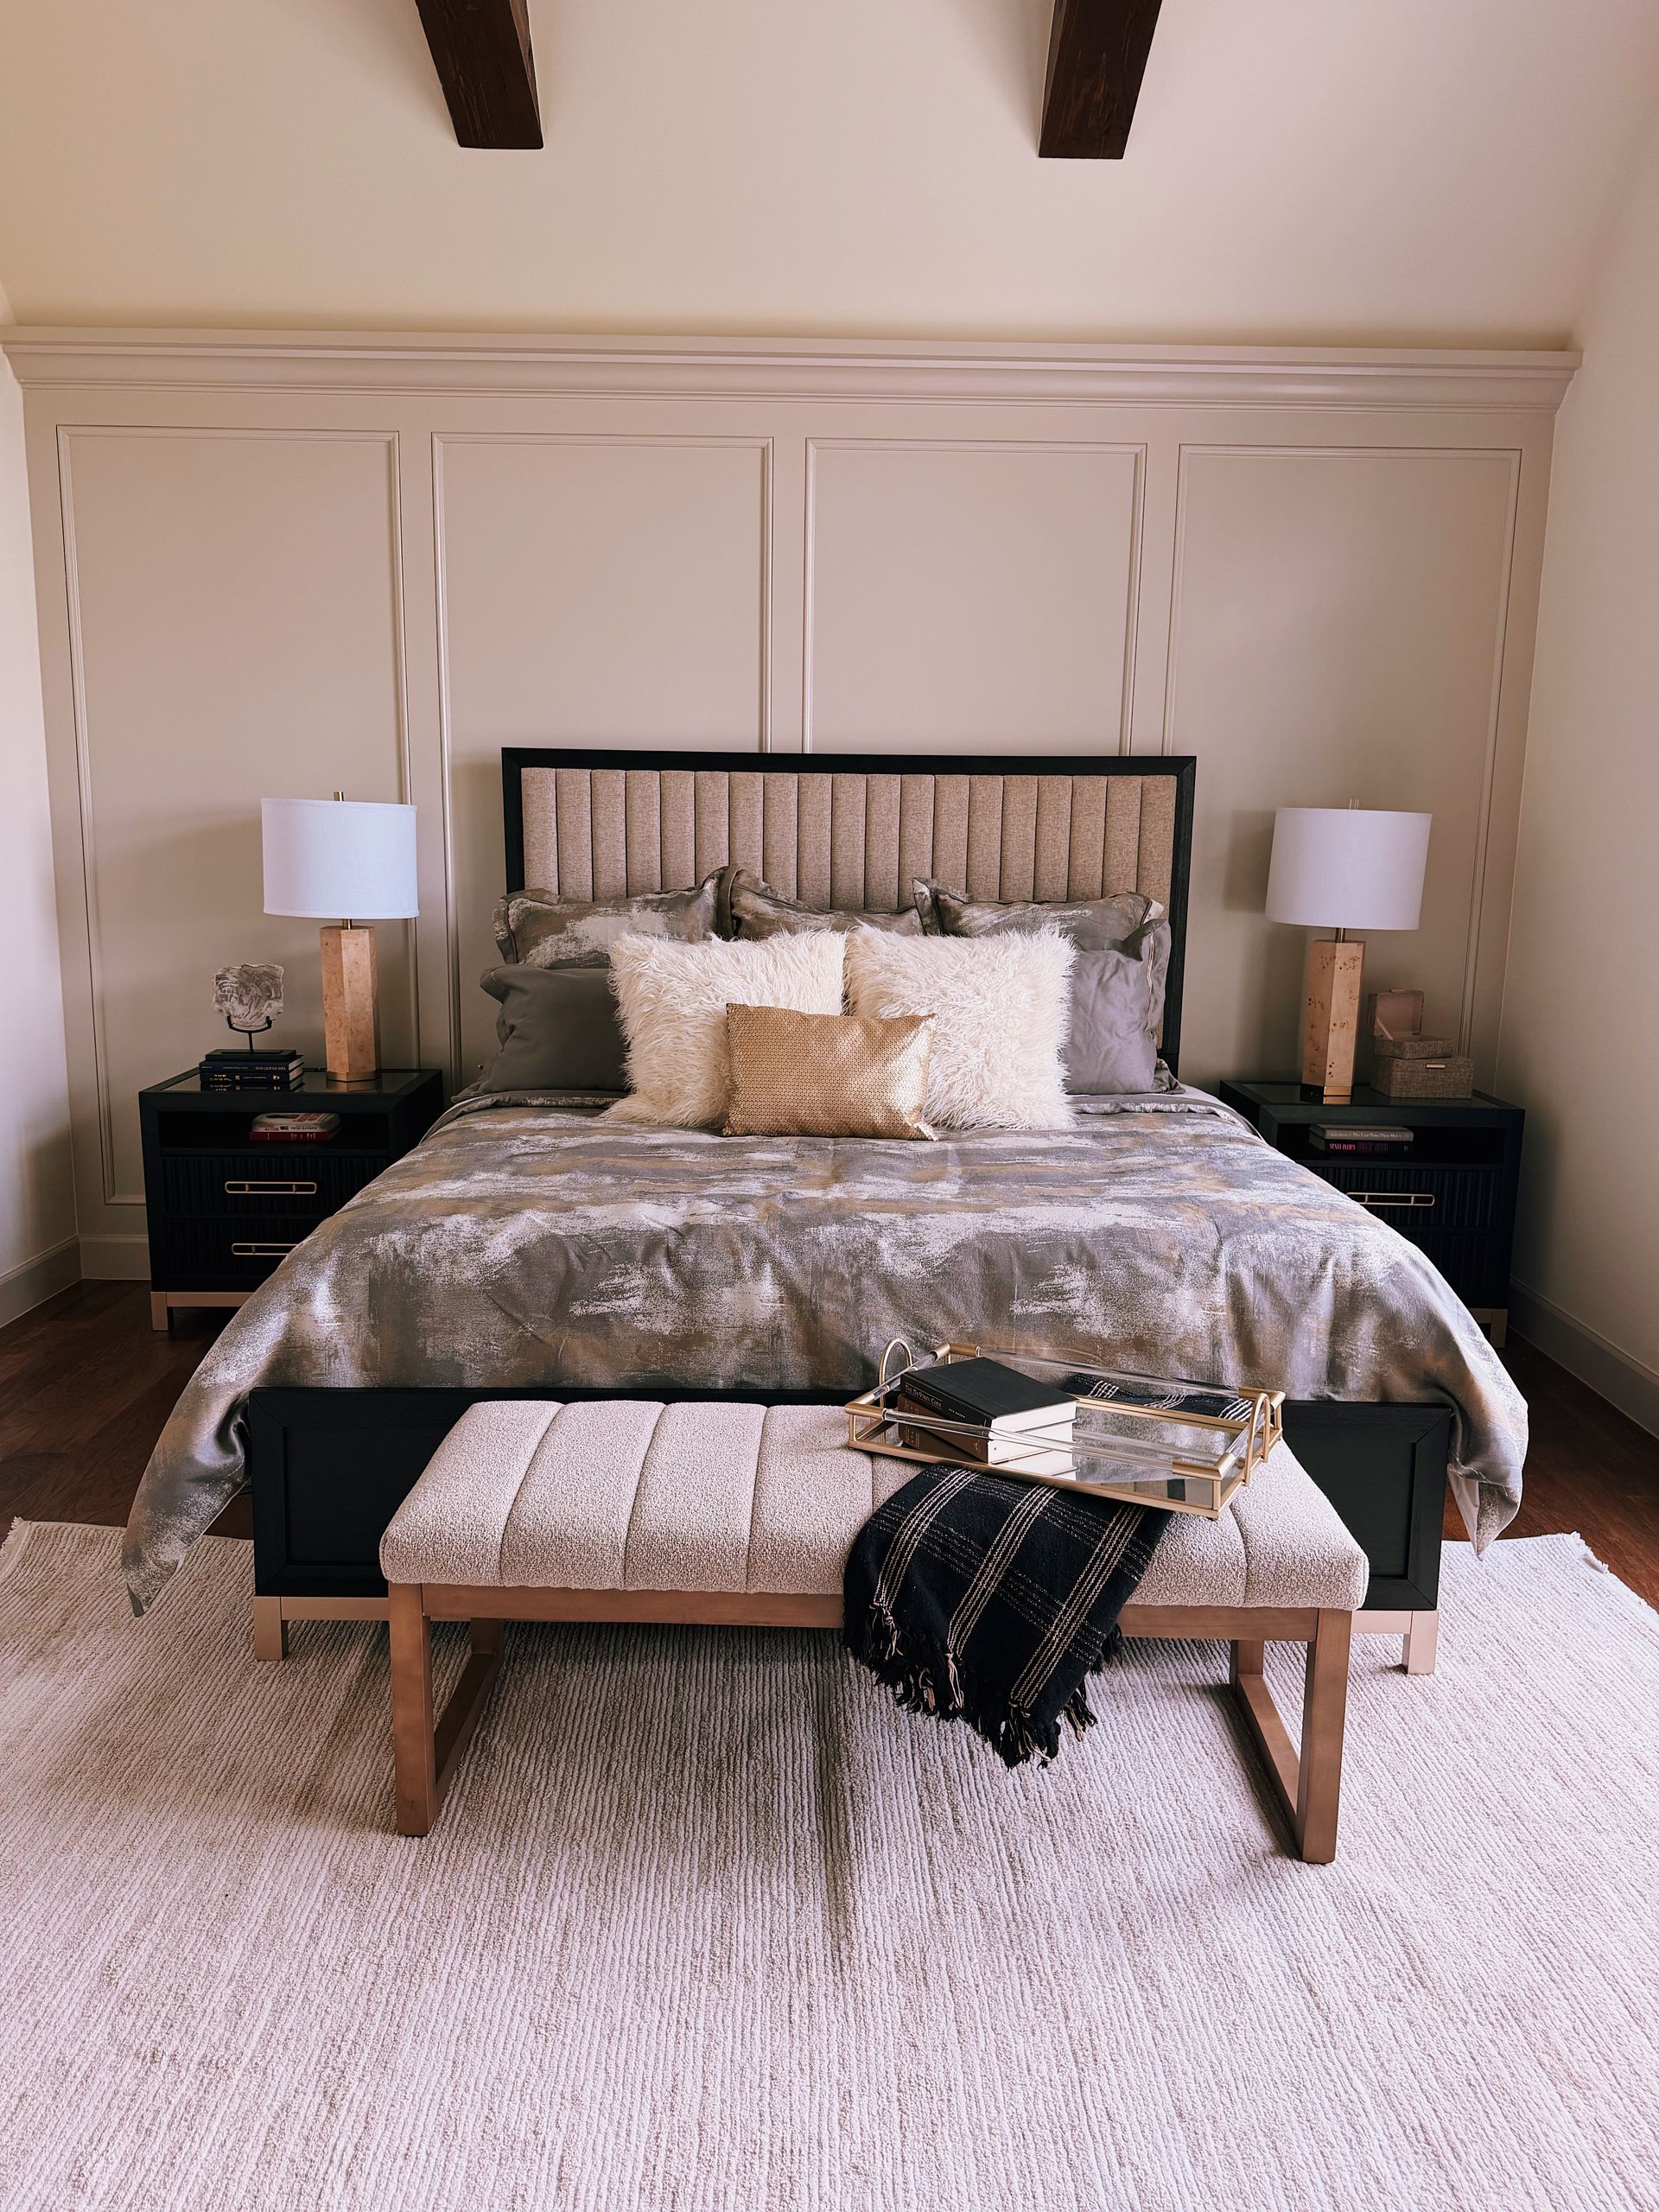
Primary Bedroom: Create a Calm Retreat
18. Make the Bed Feel Comfortable and Neutral
Use clean, wrinkle-free bedding in soft neutrals. Add a few coordinated pillows and a folded throw, but avoid an arrangement that feels overly formal or difficult to maintain.
The bed should be the clear focal point of the room.
19. Edit Nightstands and Window Treatments
Keep nightstands simple: a lamp, one small accessory, or a single book is enough. Open curtains and blinds fully, and remove heavy or dated window treatments when appropriate.
The room should feel restful, bright, and easy to imagine living in.
20. Organize the Closet
Remove excess clothing and keep the floor clear. Arrange remaining items by type or color, use matching hangers if possible, and avoid overfilling shelves.
Storage is part of the buyer experience. A tidy closet helps communicate capacity.
Bathrooms: Aim for Fresh and Restful
21. Scrub, Repair, and Recaulk
Clean tile, grout, tubs, sinks, mirrors, floors, and toilets until they shine. Address hard-water marks, peeling caulk, mold, discoloration, loose hardware, and burned-out bulbs.
These small repairs can change the entire impression of the room.
22. Add Fresh Textiles and Hide Personal Items
Remove toothbrushes, razors, makeup, medication, and excess toiletries. Use fresh, coordinating towels and a clean, neutral bathmat or shower curtain.
A simple soap dispenser, folded towels, or a small plant can add a quiet spa-like finish.
Flex Rooms and Home Offices: Give Each Space a Purpose
23. Define the Room Clearly
A bonus room or spare bedroom should not become a catch-all storage area. Decide whether it works best as an office, guest room, playroom, workout space, or second living area, then stage it accordingly.
A clearly defined room helps buyers understand how the home can support their routines.

Finishing Touches Before Photos and Showings
24. Check Lighting, Temperature, and Scent
Use consistent lightbulb color throughout the home. Turn on lamps, open window coverings, and replace bulbs that flicker or feel too dim.
Keep the home comfortably cool or warm, depending on the season, and avoid strong fragrances. Fresh air and a clean environment are more inviting than heavy scents.
25. Complete a Final Walk-Through
Walk through the home as if you were seeing it for the first time. Look for visible cords, fingerprints, pet items, full trash cans, personal documents, crooked artwork, and anything that interrupts the flow.
Before the photographer arrives, remove vehicles from the driveway, store bins, close toilet lids, turn on lights, and make every bed. The final pass is where attention to detail becomes visible.
When DIY Isn’t Enough, Call a Pro
A checklist can create a strong foundation, but some homes need more than editing and cleaning. Vacant properties may need furniture to establish scale. Large or unusual rooms may need help with layout. A dated home may benefit from a careful balance of warmth, contrast, and restraint.
That is where professional home staging Tulsa sellers can rely on becomes especially helpful.
At Maude Staging, we create tailored presentations using our in-house collection of furniture, artwork, rugs, lighting, greenery, and decorative accessories. Lead designer Mari Velasquez considers each home’s scale, architecture, finishes, and likely buyer profile. Marisa Velasquez brings real estate perspective to the process so the design supports the listing as well as the room.
Our dedicated moving team manages complete installation and removal. From the first planning conversation through the final styling detail, we keep the process clear, coordinated, and specific to the property.
For agents looking for thoughtful real estate staging in Tulsa, or homeowners exploring interior design Tulsa support before listing, visit Maude Staging to talk through your property and timeline. We’ll help you understand which rooms deserve attention and what the next step may look like.
For more on the value of staging an empty property, read why vacant rooms can cost you offers. You can also compare virtual staging and real staging for a Tulsa listing.
A polished listing does not need to feel overdone. With clarity, care, and thoughtful preparation, it can feel effortless from the first photograph to the final showing.